OxiPro OX2 Oximeter Support
You've found the page which provides full support on the OxiPro OX2 Oximeter you will find the downloadable user manual along with frequently asked questions.
Frequently Asked Questions
Q: What is the correct way to take a reading?
A: First, you should take a sit or lie down in a comfortable
position, and try to relax. Stay still during testing. Next, try to rest your hand on a hard surface. You can then put the OxiPro Oximeter on your finger and turn it on. Please note that it may take up to 60 seconds for the device to
stabilise.
Please see the product Quick Start Guide for the best
process.
Q: My Oximeter struggles with taking a reading. What could be the reason behind it?
A: Common reasons are as follows:
- Wearing nail varnish or false nails blocks the signal,
please remove them if you wear them. - Use the middle finger on either hand as this is typically where
the strongest blood flow is. However, injury or reduced circulation can cause
problems. If you still struggle make sure your hands are warm and try different
fingers. - Stay still while taking the reading. Movement allows light
to leave into the sensor and causes inaccurate results. - Using the device in bright light can also cause light seepage
between the finger and the sensor. Use the away from a direct light source.
Q: Which finger and/or hand should I put the Oximeter on?
A: Blood flow quality can significantly vary between fingers. Typically, the best fingers are the middle fingers followed by the index fingers, but this can vary from person to person. If you get an unstable reading, low reading or weak signal, try another finger or hand as oximeters can be used on any finger. Wait up to 60 seconds until the blood oxygen level reading stabilises (shows the same reading for 8-10 seconds) and take the highest reading shown.
If you suffer from Raynaud's syndrome, make sure your hands are warm and have good blood flow for the test.
Q: I have Raynaud's syndrome and I’m struggling to get a reading / stable reading.
A: Raynaud's syndrome reduces the blood flow in the hand, as the Oximeter relies on a reading from the blood flow it can causes challenges when taking a reading.
To improve your results:
- make sure your hands are warm when testing.
- Try different fingers, the middle finger is normally best to test, however you may need to try different fingers to find the one with the best blood flow.
- Make use of the PI feature which will indicate the strength of the signal on different fingers (see the user manual).
Q: I put my finger into the Oximeter and it turned off after a few seconds. Why is that?
A: The oximeter automatically turns off if it does not detect a pulse within 10 seconds.
The most likely causes for it to turn off with your finger in are:
- There was a few seconds gap between turning the oximeter on and inserting your finger. Turn it on directly before inserting your finger.
- You are wearing false nails or nail varnish which reduces or blocks the signal.
- Your hands are cold which reduces blood flow, please warm your hands up.
- There is reduced blood flow in the finger you are testing which could be from an historic injury or Raynaud’s syndrome, please try a different finger.
- You may be missing a step from the quick start guide. Pleaser download it above and make sure to follow the steps outlined.
If you still experience issues, please contact us and we’ll be happy to help.
Q: Why won’t my Oximeter turn on?
A: As silly as it sounds, that could be due to the batteries being inserted the wrong way round. Please double check that the batteries are inserted in the correct polarity (positive to positive, negative to negative).
If the batteries are correctly inserted, try new batteries. If new batteries don’t solve the issue, please contact us.
Q: How do I register my product?
Please click here (note it will direct you to the AlcoSense website).
Type in your email address, your first and last name, and chose the marketing permissions you’re comfortable with. Congratulations, you’ve extended the warranty of our product to 2 years!
Q: How do I turn my Oximeter off?
A: You don’t have to, your Oximeter has a built in Standby Mode function which turns the unit off after a period of about 10 seconds.
Q: My Oximeter keeps on beeping when a test is being taken. Can I turn this sound off?
A: Yes, of course. There are actually two sound related settings you can change when setting up your Oximeter. First is turning the Alarm function off, and second is turning off the beeping sound our product makes when your pulse is detected. Both can be changed by accessing your unit’s Menu by turning the device on, then pressing and holding the On button for a couple of seconds until the Menu appears, after that all you have to do is finding the relevant setting by pressing the On button to go down and changing it to the desired result by pressing and holding the On button. It’s worth mentioning that even if you turn both of those sounds off, the Oximeter will still beep when you first turn it on.
Q: What will happen if I will change the Alarm setting to off?
A: The device will carry on working as it’s supposed to. However, you won’t receive a sound cue when your blood oxygen levels fall below 94%.
Q: Can I adjust the ALARM threshold settings?
A: The alert threshold can be adjusted by accessing the device’s Menu.
- Turn the oximeter on, then press and hold the On button until the Menu appears,
- Once the menu is shown, press and hold the On button again, this time you’ll see the options change.
- Once on the second set of options, click the On button to go down until you find the Alarm you wish to change, then press and hold the On button until you arrive at the desired setting.
- Please note that the device will increase aforementioned levels by default, if you wish to decrease them, please go all the way down to the last option, and change the + symbol to a – symbol.
- You can follow the same settings to change the pulse rate alert levels.
A full explanation of how to change the settings with a diagram can be found in the user manual which can be downloaded above.
Do you require further help?
Top Products
-
 Sold out
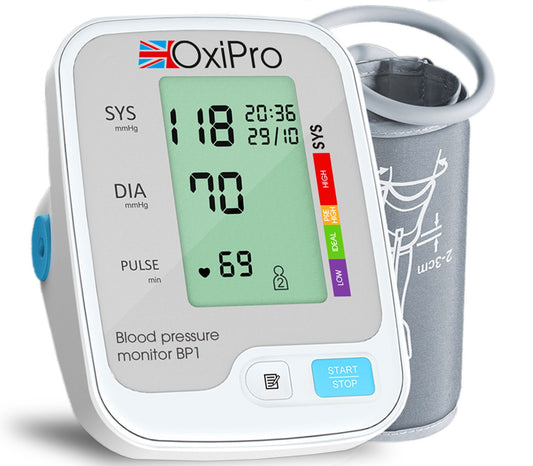
Oxipro BP1 Blood Pressure Monitor
Regular price £23.99 GBPRegular priceUnit price per£29.99 GBPSale price £23.99 GBPSold out -
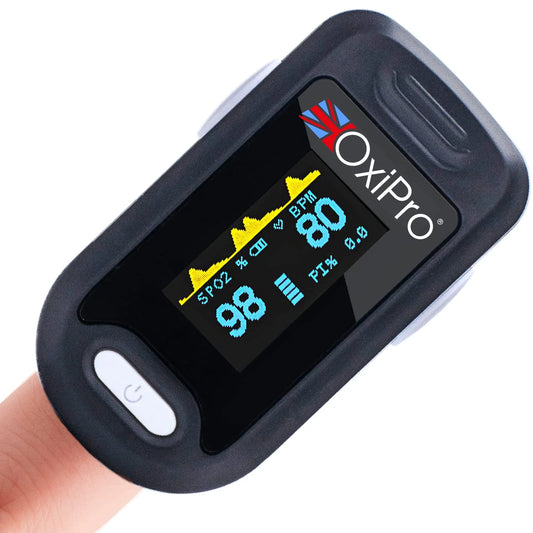
OxiPro OX2 Fingertip Pulse Oximeter
Regular price £17.99 GBPRegular priceUnit price per£24.99 GBPSale price £17.99 GBPSale -
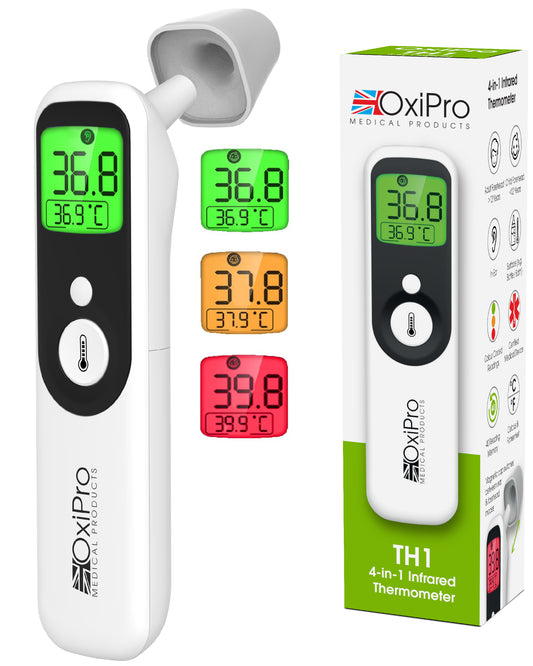
OxiPro TH1 Infrared Thermometer
Regular price £19.99 GBPRegular priceUnit price per£29.99 GBPSale price £19.99 GBPSale -
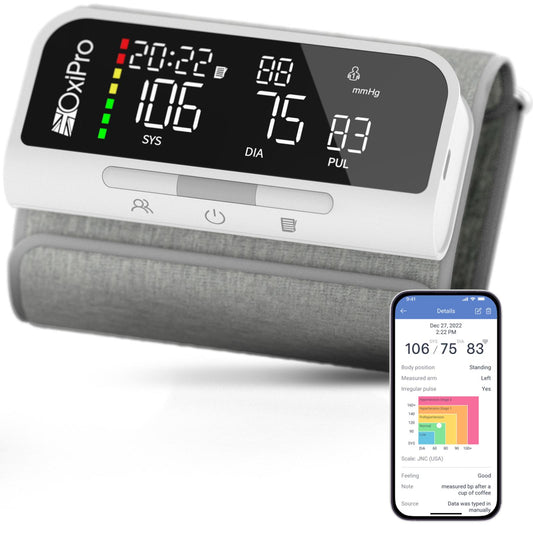
OxiPro BP2 Smart Blood Pressure Monitor
Regular price £39.99 GBPRegular priceUnit price per£59.99 GBPSale price £39.99 GBPSale


